This is the actual e-mail address that you want RMTrack to monitor for incoming e-mails. This cannot be changed once created. You can disable incoming e-mail addresses to stop RMTrack from retrieving e-mails from that address.
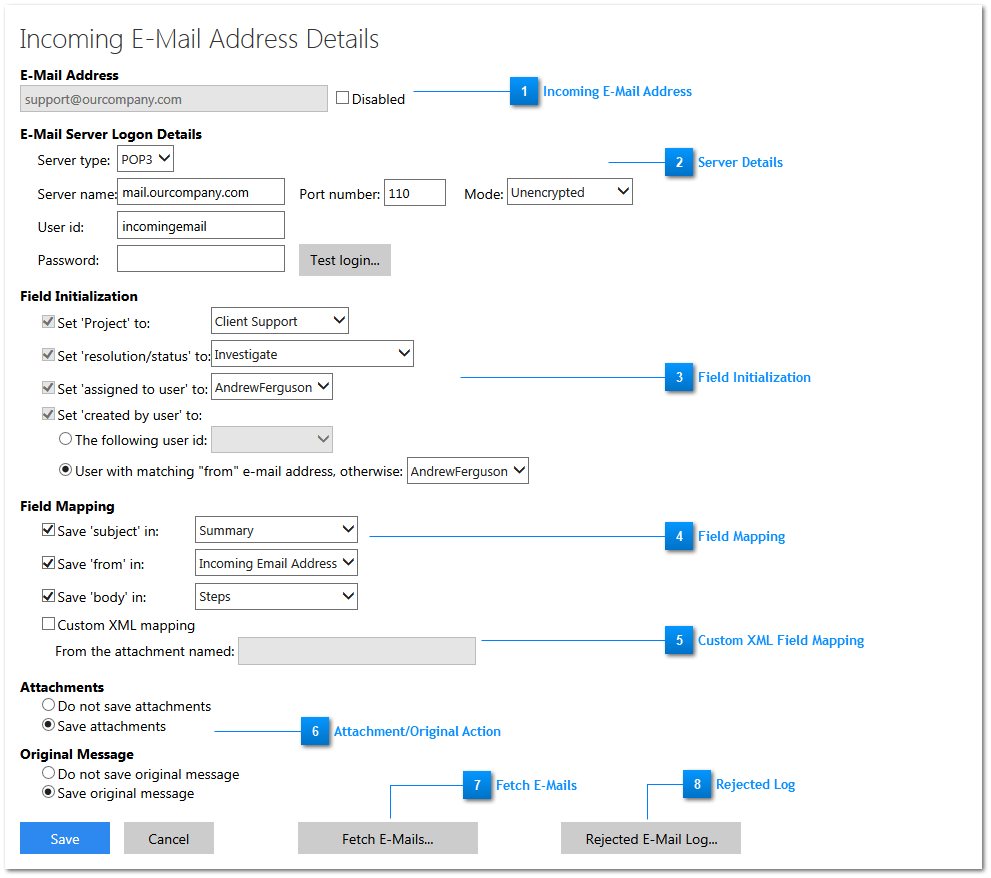
Server Details
Each incoming e-mail address must have the associated server logon information to allow RMTrack to access the incoming e-mail. RMTrack supports POP3 and IMAP server types and supports security protocols of: None (default), SSL and TLS.
The server name (or IP address), a User id, and (depending on your mail server protocols) a password need to be provided.
There is a Test login… button to verify the connection settings for the mail server.
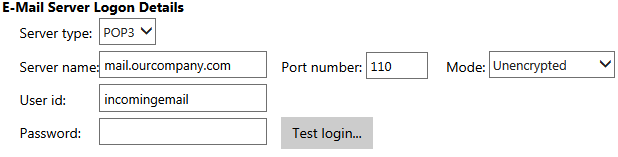
Field Initialization
For each incoming e-mail address you must map the e-mails to a specific project. Multiple e-mail addresses can be mapped to the same project. This allows e-mails sent to different addresses to be mapped differently in the same project.
Each issue created by incoming e-mail must start in a specific resolution state and it must be assigned to specific user.
It can appear to be created by a specific user or RMTrack can attempt to match to an existing RMTrack user based on e-mail address. If no match is found the “otherwise” user is used.
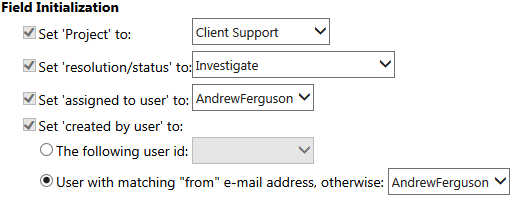
Field Mapping
There are three parts of the incoming e-mail that you can map directly to RMTrack fields: Subject, From, and Body. Each of these parts can be mapped to any text or comment log type issue field.
Custom XML Field Mapping
RMTrack also allows for complex field mapping to be accomplished by using an .XML file attached to the incoming e-mail. By checking the Custom XML mapping box and providing a file name for the XML attachment, RMTrack will read the XML file and use it to create the issue. This can be useful to communicate with RMTrack from another application e.g. have your code send RMTrack an e-mail when something happens.
This method only supports Text, Comments, and Dropdowns type issue fields and follows these rules:
If a dependent dropdown is specified its parent value(s) must also be specified.
Dropdown values provided in the XML that do not exist in RMTrck are set to the default value for the dropdown.
Text fields that exceed the length limit for the field will be truncated and “&trimmed” will be added.
Comment fields that exceed the 4000 length limit will be truncated and “&trimmed” will be added.
Code table fields that exceed the 50 length limit will be truncated (without the “&trimmed” message appended).
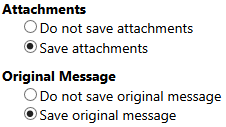
Attachment/Original Action
You can choose to keep attachments from the e-mail and make them attachments on the new issue and/or the entire original incoming e-mail can be made an attachment on the new issue.
Fetch E-Mails
The RMTrack Job Scheduler background service will check for new incoming e-mails every 10 minutes. Clicking the Fetch E-Mails… button will run the process immediately and is useful for testing.
Rejected Log
This button will show a list of e-mails that were rejected by the filtering feature. The log also contains an option to download any rejected e-mail from the mail server for inspection. Rejected e-mails are deleted automatically after 30 days.
NOTE: Any e-mails that are picked up where the TO: e-mail address does not match the configured e-mail address will be rejected.