NOTE: To access your new RMTrack application, logon with the user ID Administrator with no password.
When RMTrack is first installed (or a demonstration or hosted site first created) the database is essentially empty. However, some elements have been created out of necessity:
Three security types: Public User, Regular User and Site Administrator
A single workflow: Site Default. This workflow contains the minimum required elements for a workflow: An 'Issue Create' step and a 'New - Open' resolution state.
A single data entry form: Site Default. This form only contains the field Project which is required on all forms.
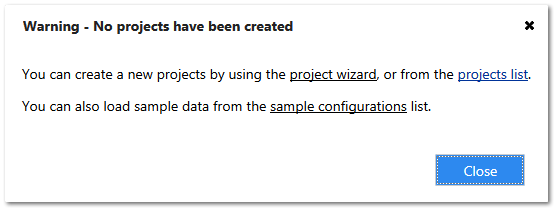
When you first access a new RMTrack installation you will see the following message:
Sample Configurations
If you have not had experience with RMTrack before, we suggest going to the sample configurations page. There you will be able to load various sample RMTrack setups. You can then play with the application and make configuration changes. At any time, you can select another sample to try, or you can go back to the Empty configuration.
Manual Configuration
If you are familiar with RMTrack, and do not want to start with a sample configuration, you can begin configuring your RMTrack installation using the administration functions available.
If you look above at the list of 6 elements configured in the “empty” setup, this is a good guide as to what you need to configure to get RMTrack working.
NOTE: We also recommend that in the early stage of your initial configuration you look at the “Site Options” section of this guide. This is where you can set things like Issue Numbering, Name for “issues” and name for “projects” and other site-wide options.
You need users, and each of those users need to belong to a group. Decide what the primary roles will be in your RMTrack setup and create a group for each one. Then create some users to add to those groups.
Next, consider the process you want to track. When you create an item, what happens to it next? What group will be responsible for it? Once that step is complete, where does the item go next? Try sketching this workflow out and then go to the Workflow designer and create your RMTrack workflow.
Finally, what information do you want to track about each item? Go to the Data Entry Form designer and create your fields and design your data entry form. You will also want to create a default layout so that the issues list starts with a set of default fields when new users log in.
NOTE: RMTrack is designed to allow for configuration changes at any time. Workflows can be changed and expanded, new user groups created and fields added. It is best to start with a simple configuration and add to it, as needed, over time.
New Project Wizard
The New Project Wizard is used to guide you through the setup of individual projects. It is recommended that you have a basic configuration in place before creating projects i.e. groups and users etc.