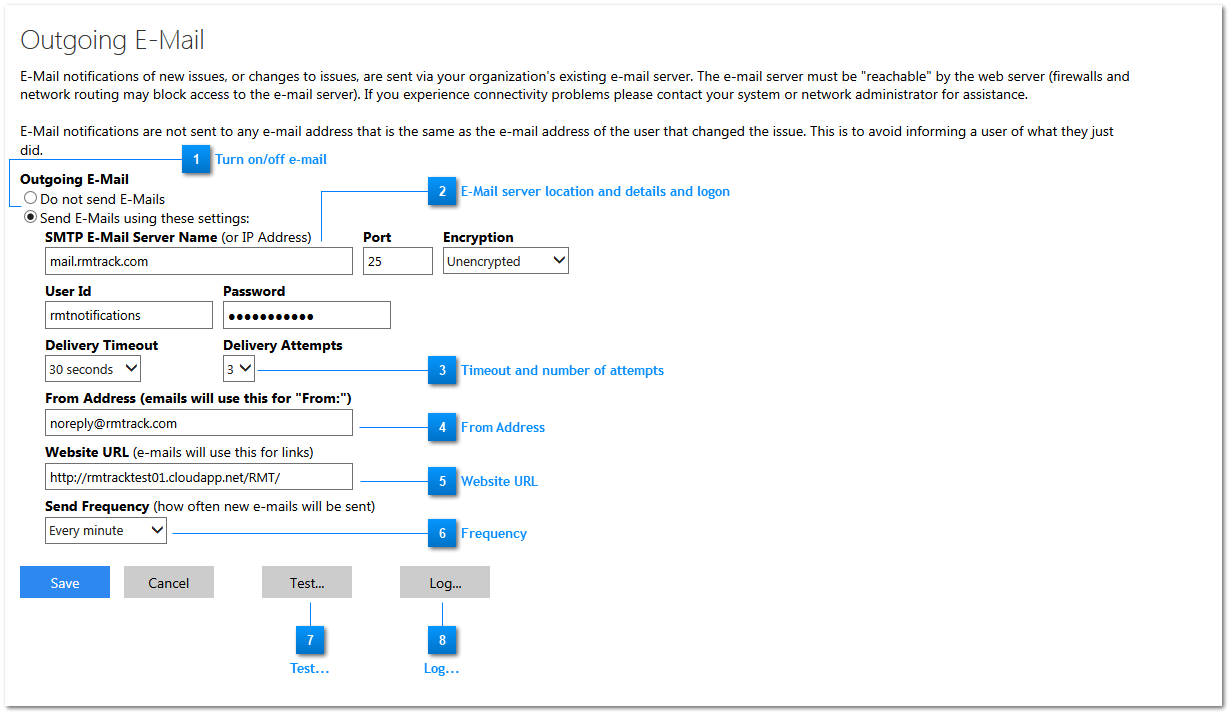
You can configure RMTrack to send e-mail notifications based on activity in RMTrack. If you do not wish to use e-mail notifications, select the Do not send E-Mails option.
E-Mail server location and details and logon
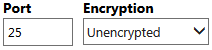
To use e-mail notification you must provide your SMTP e-mail server name (or IP address) the port number and the connection mode. This information can be provided by your system or network administrator. If your e-mail server requires authentication, you must provide a User ID and password. Do not fill in these fields unless your e-mail server requires them. Consult your system or network administrator for the required information.
If your e-mail server requires authentication, you must provide a User ID and password. Do not fill in these fields unless your e-mail server requires them. Consult your system or network administrator for the required information.
Timeout and number of attempts
You can set the length of time to wait for a response from the e-mail server and the number of times to try to send e-mails.
From Address
The From Address field can be any address you choose. You can attach a name to the address by putting the Name followed by the e-mail address enclosed in angle brackets i.e. Project Manager <jdoe@somecompany.com>. Different e-mail servers have different requirements for the from address in e-mails. Some servers may require that this be an actual e-mail address. Remember that this address will receive and delivery failure notices from your mail server and also any e-mails from replies to the RMTrack e-mail notifications.
Website URL
The Website URL field is used to insert a link to your RMTrack web site, and to specific issues, directly into your e-mail notifications. For more information on inserting links into e-mails, please refer to the section on E-Mail Templates in this guide.
Frequency
RMTrack stores e-mails to be sent and sends all pending e-mails at the same time. You may select the frequency that this job is executed from the dropdown list under Send Frequency.
Test...
When your settings are complete and saved you can use the Test… button to send a test e-mail to verify that the connection between your web server and your e-mail server is valid.
Log...
The Log… button will display a log of outgoing e-mails. This log shows sent and failed e-mails as well as pending e-mails. Log entries can be cleared by clicking the Clear Log button found on the Outgoing E-Mail Log page. By Default RMTrack deletes e-mail notifications from the log after 3 days for successfully sent e-mails and 30 days for failed e-mails.
NOTE: It is possible to change the retention period for the e-mail log. For assistance with this please contact support@rmtrack.com.